

|
|
Version

Table of Contents
1.2 What do you need to understand this book 3
2.2 openMDX Tomcat LWC Installer 5
2.3 openCRX Server Installer 5
3 Installing openCRX Server on Windows 6
4 Installing openCRX Server on Linux 16
5.1 Starting openCRX Server 26
List of Figures
List of Listings
1 About this Book
This book describes how to install an openCRX Server with the BitRock installer on Windows or Linux platforms. Please note that this is a guide to set up a runtime environment suitable for evaluation and testing purposes. It is not recommended to use this configuration for a production site.
openCRX is the leading enterprise-class open source CRM suite. openCRX is based on openMDX, an open source MDA framework based on the OMG's model driven architecture (MDA) standards. This guarantees total openness, standards compliance, a state-of-the-art component-based architecture, and virtually unlimited scalability.
1.1 Who this book is for
The intended audience are openCRX administrators and advanced users interested in evaluating openCRX.
1.2 What do you need to understand this book
This book describes how to install openCRX with the BitRock installer, which takes care of all the tricky configuration issues for you. The prerequisites are minimal (JDK) and once they are met you should have openCRX up and running in less than 5 minutes.
1.3 Tips, Warnings, etc.
We make use the following pictograms:
|
|
Information provided as a “Tip” might be helpful for various reasons: time savings, risk reduction, etc. - it goes without saying that we advise to follow our guides meticulously
meticulous \muh-TIK-yuh-luhs\,
adjective: |
|
|
You should carefully read information marked with “Important”. Ignoring such information is typically not a good idea. |
|
|
Warnings should not be ignored (risk of data loss, etc.) |
2 Prerequisites
2.1 JDK 5.0
Install the Sun Java JDK 5.0 available
from
http://java.sun.com/javase/downloads/index_jdk5.jsp
|
|
You really need Java 5, i.e. neither Java 4 nor Java 6 will work. |
|
|
It is not sufficient to have a Java Runtime Environment (JRE) only. The full-blown JDK is required to run openCRX. |
|
|
Don't forget to set the environment variable JAVA_HOME |
|
|
If you deploy openCRX on Sun's JVM you might run into a problem that is mind-boggling (but specific to the Sun JVM). It's the dreaded PermGen OutOfMemoryError While increasing the size of the PermGen space
with the appropriate JVM option might postpone the problem it is
not really a solution: Lots of people have been struggling with this error (which is by the way not related to openCRX – any application could trigger it) and as of today we have not come across a solution other than to avoid Sun's JVM (JVMs by Oracle/BEA and IBM are – by construction – not prone to this error). Do a Google search if you want to convince yourself or drop us a line if you have a solution. But be aware that increasing the memory allocated for the permanent generation is no solution – it will only postpone the problem: |
2.2 openMDX Tomcat LWC Installer
Download the openMDX Tomcat LWC Installer appropriate for your platform from Sourceforge: http://www.openmdx.org/downloads.htm
Installer for
Windows:
openmdxTomcatLwc-2.3.0-windows-installer.exe
Installer for
Linux:
openmdxTomcatLwc-2.3.0-linux-installer.bin
The openMDX Tomcat LWC Installer will install Apache Tomcat v6.0.14 including the openMDX Lightweight Container (LWC) on your system.
2.3 openCRX Server Installer
Download the openCRX Server Installer appropriate for your platform from Sourceforge: http://www.opencrx.org/downloads.htm
Installer for
Windows:
opencrxServer-2.3.0-windows-installer.exe
Installer
for Linux:
opencrxServer-2.3.0-linux-installer.bin
The openCRX Server Installer will install the openCRX EARs, an openCRX database (HSQLDB), and various configuration files on your system.
2.4 Hardware
We recommend a decent CPU and at least 1GB RAM. More detailed information about the requirements of openCRX are available from http://www.opencrx.org/faq.htm#hardware
3 Installing openCRX Server on Windows
3.1 Apache Tomcat / LWC
Launch the Installer openmdxTomcatLwc-2.3.0-windows-installer.exe
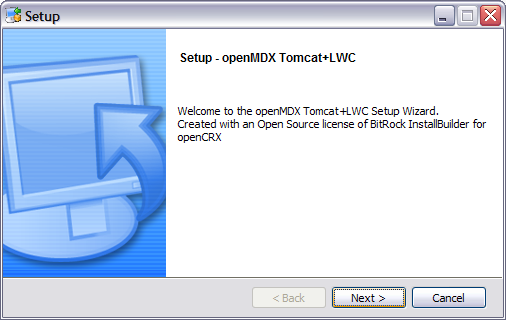
Click [Next] on the following screen:
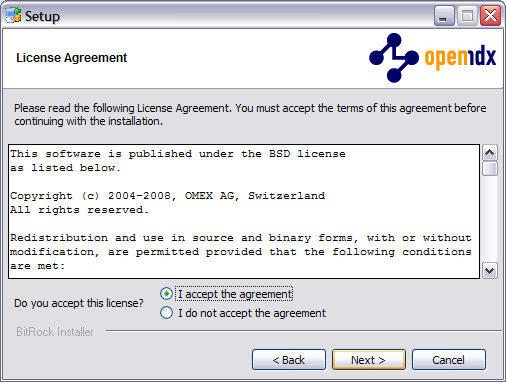
Accept the BSD License Agreement and click [Next] again:
Choose an installation directory (it will be created automatically if it does not exist yet). Then click [Next] to continue:

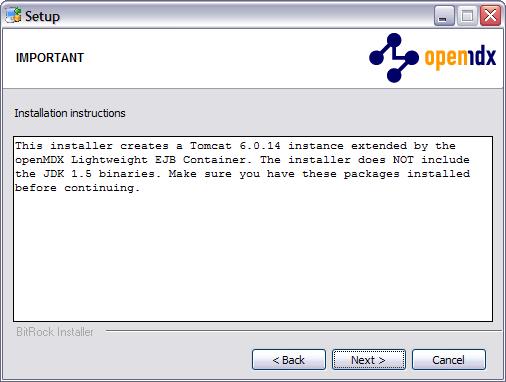
Please note the information on the following screen. It is assumed that you have installed JDK 1.5 (also called JDK 5.0) appropriate for your platform (see Prerequisites). Click [Next] to continue:
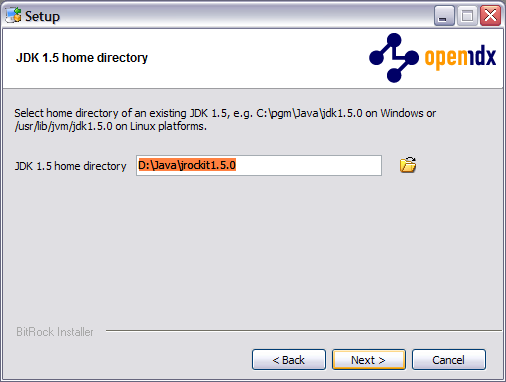
Select the home directory of your JDK 1.5 installation - for example D:\Java\jrockit1.5.0 - and then click [Next] to continue:
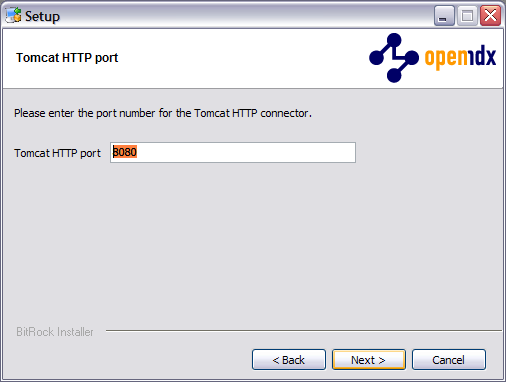
Enter the port number of the Tomcat HTTP connector. You can choose any port available on your system. The default is 8080. Click [Next] to continue:
Similarly, enter the port number of the Tomat HTTPS Connector. The default is 8443. Click [Next] to continue:

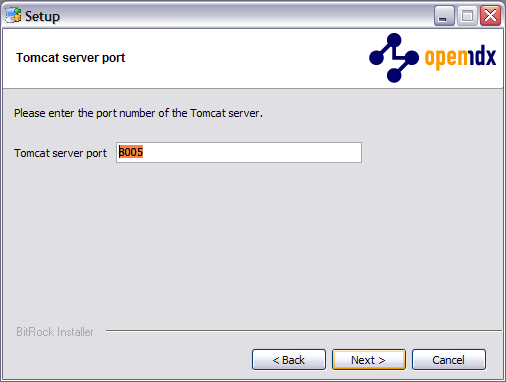
Next, enter the Tomcat command port number. The default is 8005. Click [Next] to continue:
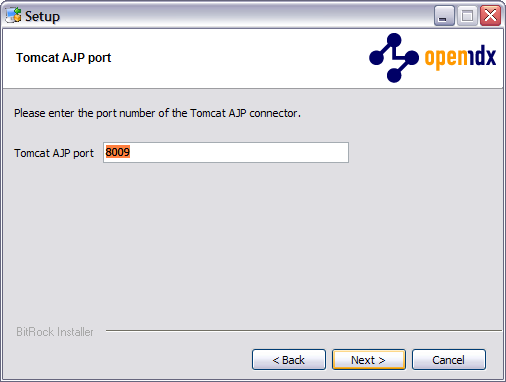
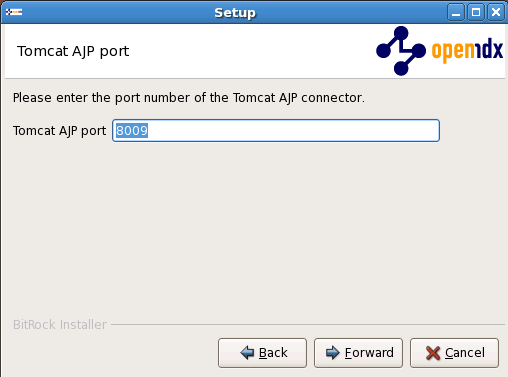
Enter the port number of the Tomcat AJP connector. The default is 8009. Click [Next] to continue:
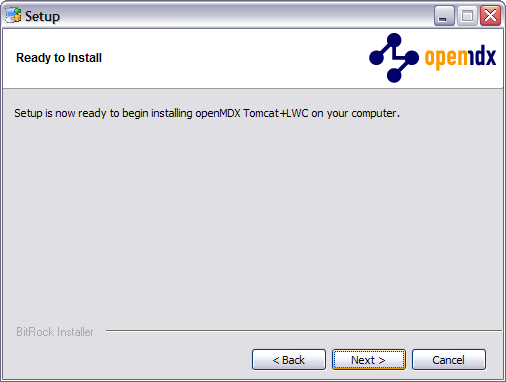
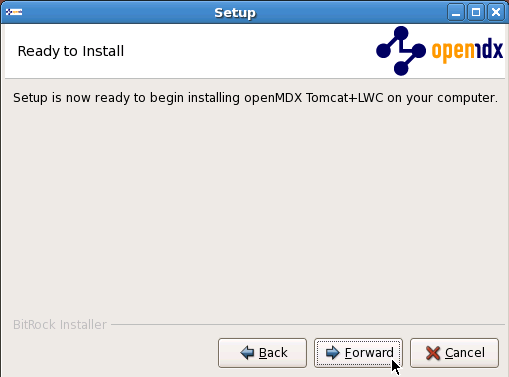
Finally, click [Next] to start the installation:
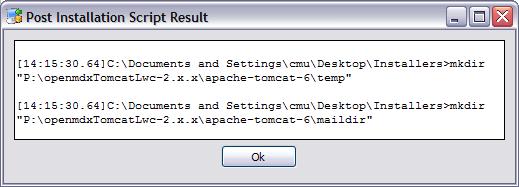
Once the installation is complete, verify the result of the post installation script and click [Ok]:
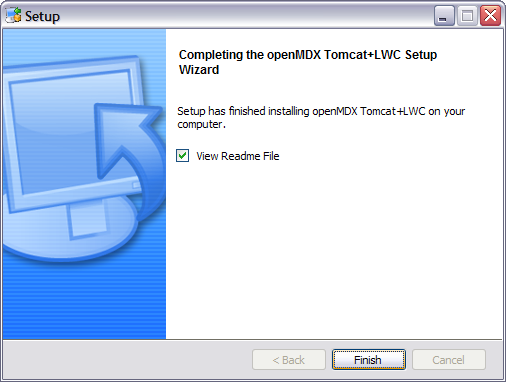
Click [Finish] on the last screen to leave the installer:
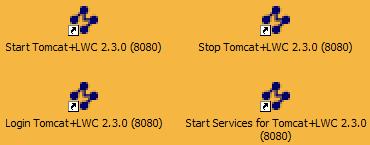
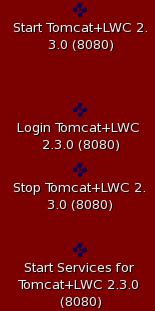
On your desktop, you should see the following new shortcuts created by the installer:
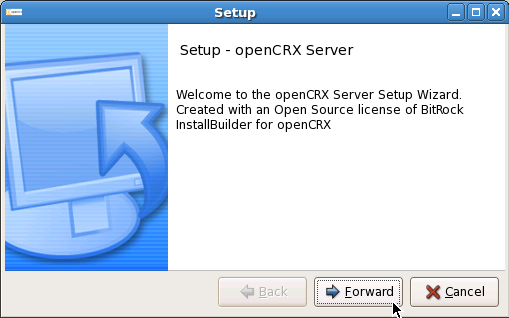
3.2 openCRX
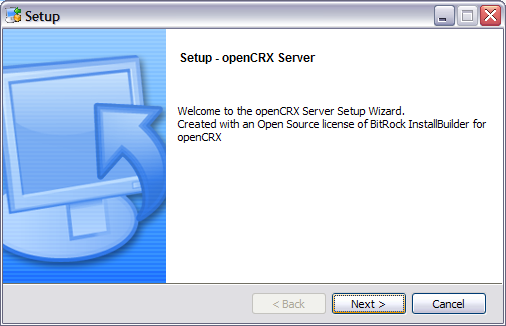
Launch the Installer opencrxServer-2.3.0-windows-installer.exe
Click [Next] on the following screen:
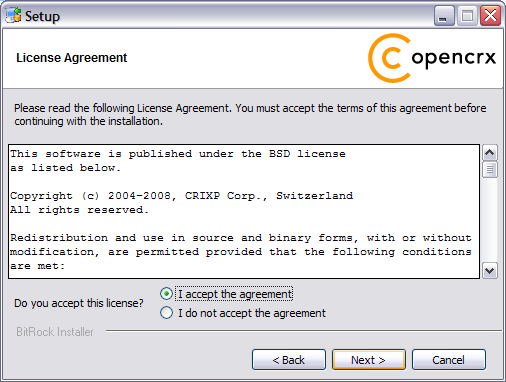
Accept the BSD License Agreement and click [Next] again:
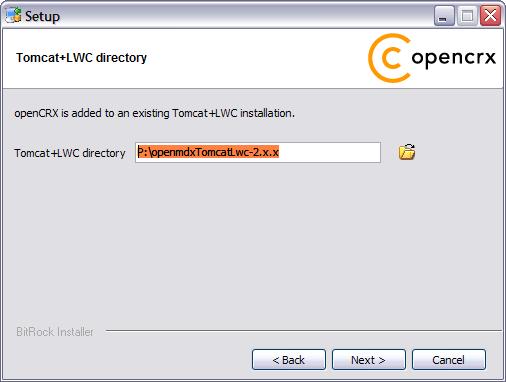
On the following screen, navigate to the Tomcat installation directory – for example P:\openmdxTomcatLwc-2.x.x – and then click [Next] to continue:
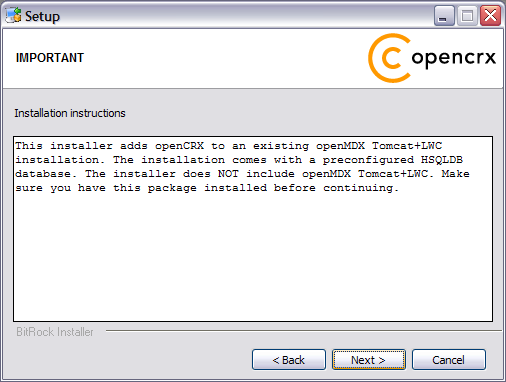
Please note the information on the following screen and then click [Next] to continue:
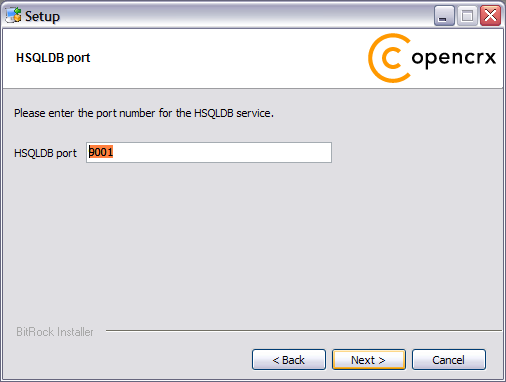
Enter the port number of the HSQLDB service. You can choose any port available on your system. The default is 9001. Click [Next] to continue:
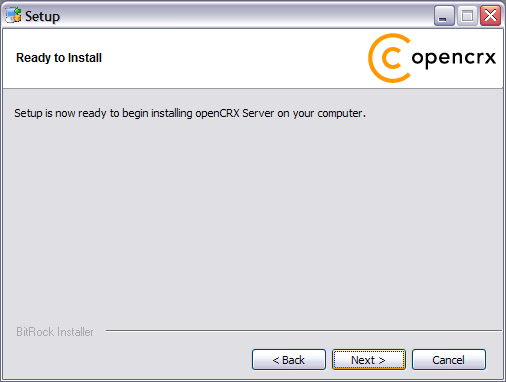
Finally, click [Next] to start the installation:
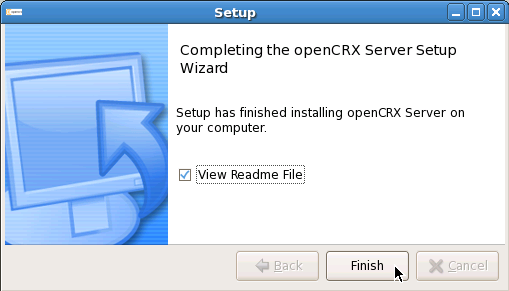
Once the installation is complete, click [Finish] on the last screen:
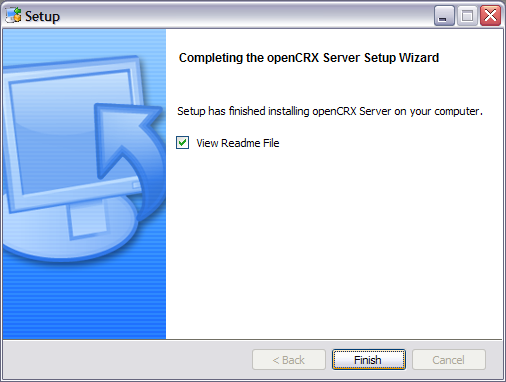
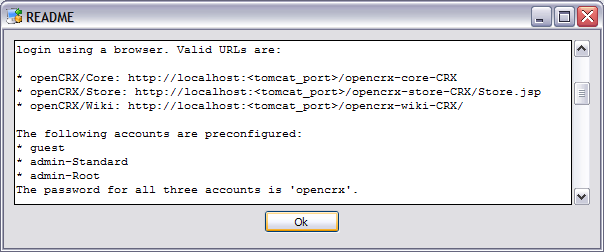
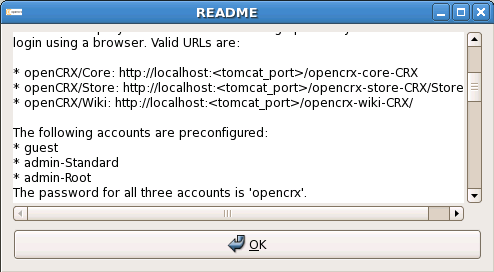
Finally, please carefully read the README, in particular information about valid URLs, preconfigured users and passwords:
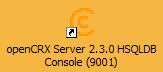
On your desktop, you should see the following new shortcut created by the installer:
4 Installing openCRX Server on Linux
|
|
There is no need to install openCRX as root. We created a user crx and the whole installation procedure is done as user crx. |
4.1 Apache Tomcat / LWC
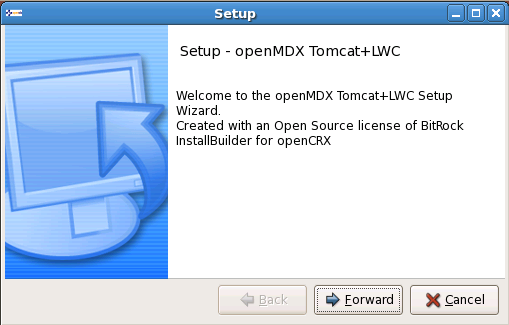
Launch the Installer openmdxTomcatLwc-2.3.0-linux-installer.bin
Click [Forward] on the following screen:
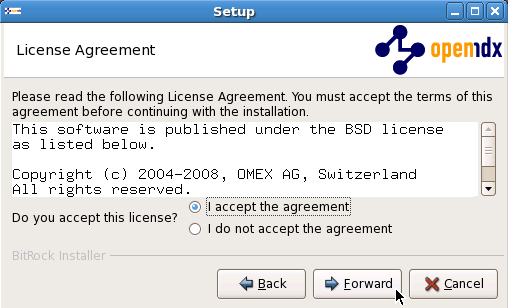
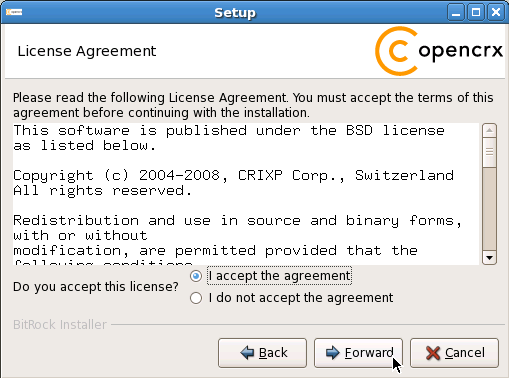
Accept the BSD License Agreement and click [Forward] again:
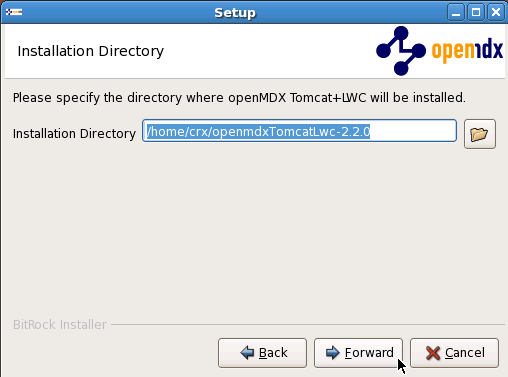
Choose an installation directory (it will be created automatically if it does not exist yet). Then click [Forward] to continue:
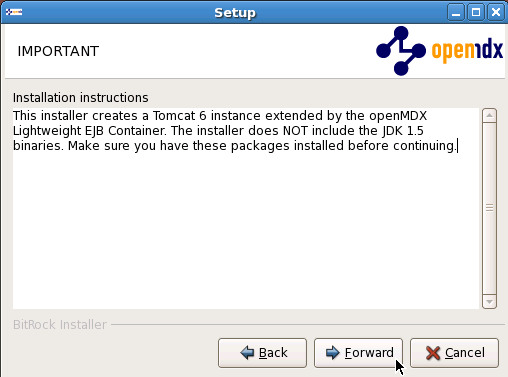
Please note the information on the following screen. It is assumed that you have installed JDK 1.5 (also called JDK 5.0) appropriate for your platform (see Prerequisites). Click [Forward] to continue:
Select the home directory of your JDK 1.5 installation - for example
/opt/jrockit-1.5.0_12 - and then click [Forward] to continue: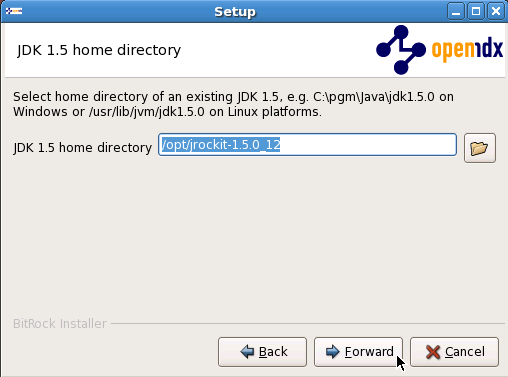
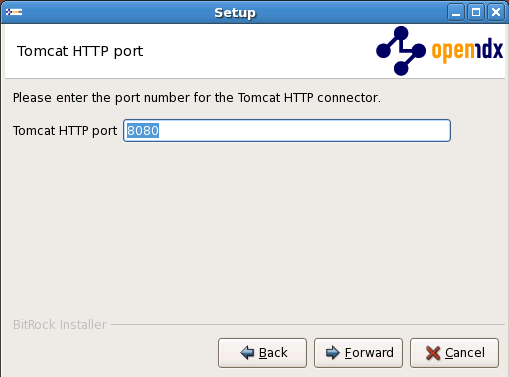
Enter the port number of the Tomcat HTTP connector. You can choose any port available on your system. The default is 8080. Click [Forward] to continue:
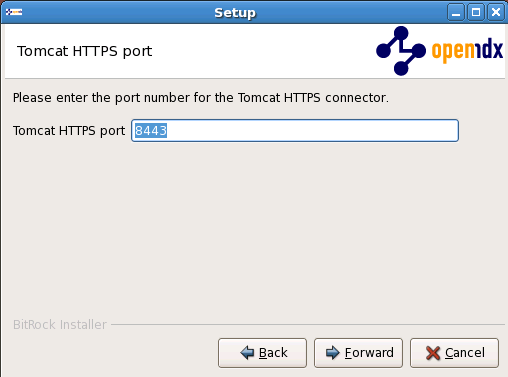
Similarly, enter the port number of the Tomat HTTPS Connector. The default is 8443. Click [Forward] to continue:
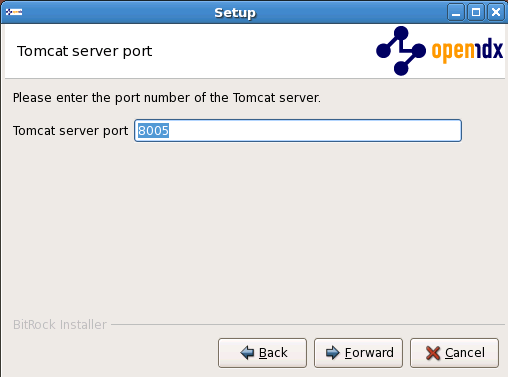
Next, enter the Tomcat command port number. The default is 8005. Click [Forward] to continue:
Enter the port number of the Tomcat AJP connector. The default is 8009. Click [Forward] to continue:
Finally, click [Forward] to start the installation:
Once the installation is complete, you might see a window containing the result of the post installation script. Click [Ok] to close the window
Click [Finish] on the last screen to leave the installer:

On your desktop, you should see the following new shortcuts created by the installer:
4.2 openCRX
Launch the Installer opencrxServer-2.3.0-linux-installer.bin
Click [Forward] on the following screen:
Accept the BSD License Agreement and click [Forward] again:
On the following screen, navigate to the Tomcat installation directory – for example /home/crx/openmdxTomcatLwc-2.3.0 – and then click [Forward] to continue:
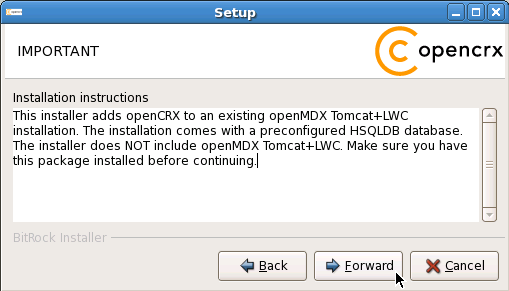
Please note the information on the following screen and then click [Forward] to continue:
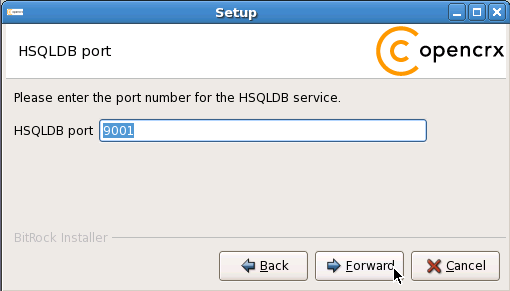
Enter the port number of the HSQLDB service. You can choose any port available on your system. The default is 9001. Click [Forward] to continue:
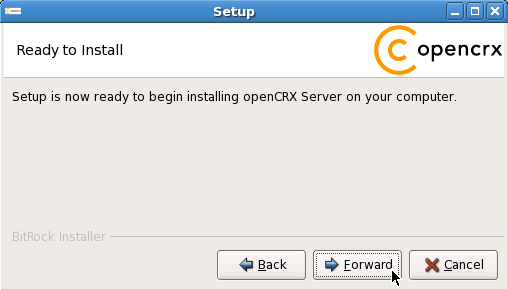
Finally, click [Forward] to start the installation:
Once the installation is complete, click [Finish] on the last screen:
Finally, please carefully read the README, in particular information about valid URLs, preconfigured users and passwords:
On your desktop, you should see the following new shortcut created by the installer:
5 Running openCRX Server
The installation process created 5 shortcuts on your desktop:
|
|
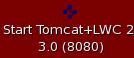
Start Tomcat to start the openCRX Server |
|
|
Launch Browser and connect to Tomcat |
|
|
Stop Tomcat to stop the openCRX Server |
|
|
Most likely you
won't need this shortcut |
|
|
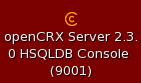
Launch Management Console of HSDQLDB |


5.1 Starting openCRX Server
Double-click the shortcut Start Tomcat+LWC.
5.2 Connect and Login
Double-click the shortcut Login Tomcat+LWC. This will launch your default browser and take you to the Tomcat home page. In the lower left corner you will see a box labelled openCRX CRM:
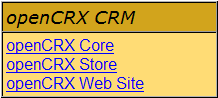 Click
on openCRX Core to load the openCRX login page. Enter a valid
username (e.g. guest) and the corresponding password (e.g. opencrx)
and then click [Login]. Initialization takes place during the first
login after (re)starting Tomcat, so please be patient. Subsequent
logins will be very fast.
Click
on openCRX Core to load the openCRX login page. Enter a valid
username (e.g. guest) and the corresponding password (e.g. opencrx)
and then click [Login]. Initialization takes place during the first
login after (re)starting Tomcat, so please be patient. Subsequent
logins will be very fast.
5.3 Stopping openCRX Server
Double-click the shortcut Stop Tomcat+LWC.
6 Next Steps
Now that you have successfully installed openCRX you might want to have a look at some of the additional documentation published at http://www.opencrx.org/documents.htm.
License
The contents of this file are
subject to a BSD license (the "License"); you may not use
this file except in compliance with the License. You may obtain a
copy of the License at http://
Copyright 2008 ©
CRIXP Corp. All rights reserved. ![]()